
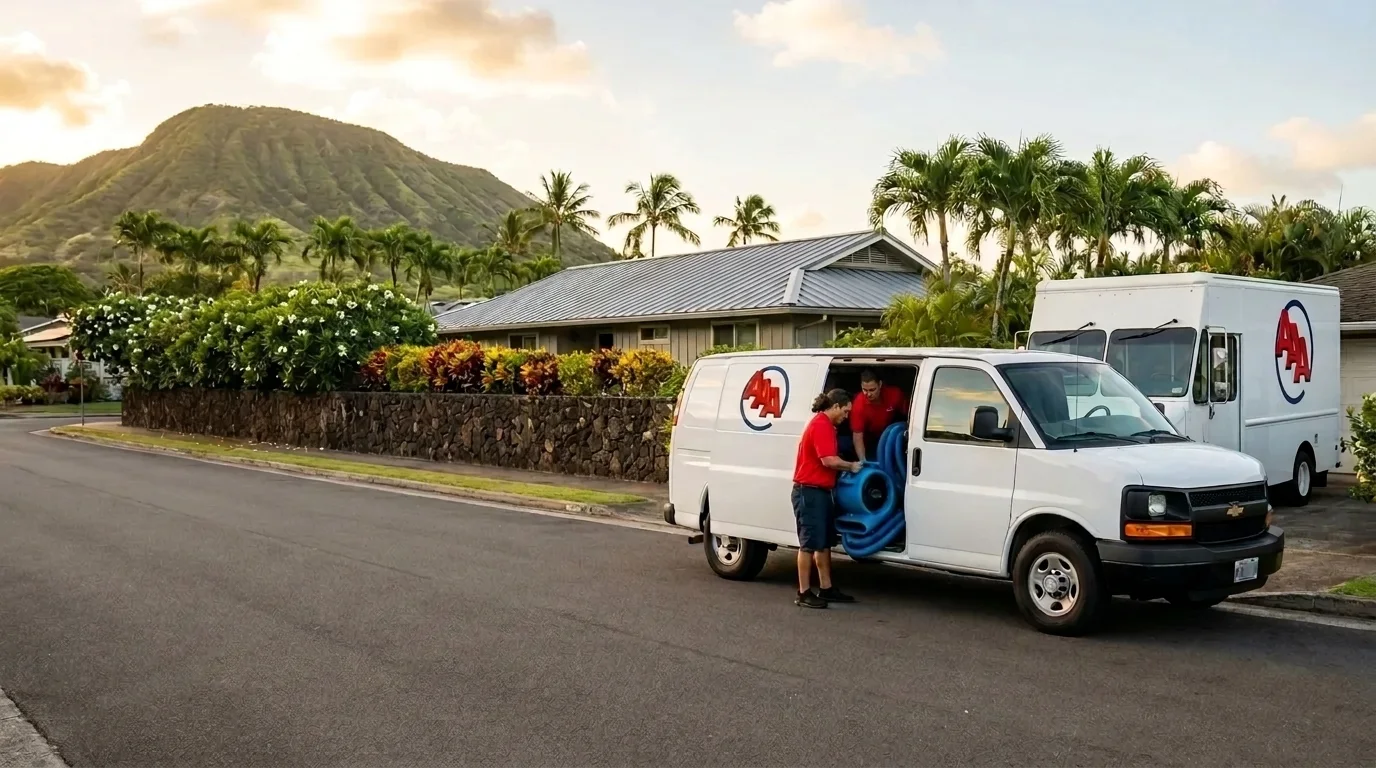
Basement flooding in Hawaii might not conjure the same image as a Midwest storm surge, but Honolulu’s heavy rain seasons — and the aging plumbing in many of the island’s older homes — make water intrusion a real and recurring problem. The good news: most basement and ground-level flooding is preventable with a handful of targeted maintenance steps. Work through these eight before the next heavy rain rolls in, and you’ll dramatically reduce the odds of waking up to standing water.
1. Clean and Extend Your Downspouts
Your gutters are only as useful as where they deposit water. If downspouts terminate flush against the foundation, every rainstorm is essentially a slow drip test against your basement wall. Extend each downspout at least six feet from the house using a flexible elbow extension — the cheap plastic ones at any hardware store work fine. Aim for a discharge point that slopes away from the structure. While you’re up there, clear any debris from the gutters themselves; a clogged gutter overflows directly against the roofline and foundation rather than routing water away.
2. Regrade the Soil Around Your Foundation
Over time, soil settles and can create a slight bowl shape around the perimeter of your home — exactly the wrong geometry when it rains. Walk the exterior and look for any spots where the ground slopes toward the foundation rather than away from it. The fix is straightforward: add compacted fill dirt to create a slope of roughly one inch per foot for the first six feet out from the wall. In Honolulu’s clay-heavy soils, this matters even more because clay holds water rather than draining it quickly.
3. Inspect and Seal Foundation Cracks
Hairline cracks in poured concrete or concrete block walls are normal, but they’re also entry points. Run your hand along the interior walls after a heavy rain — if you feel moisture or see efflorescence (that white chalky mineral deposit), water is migrating through. Small cracks can be sealed with hydraulic cement or a polyurethane injection kit from a hardware store. Wider cracks — anything you can fit a quarter into — or cracks that are actively leaking during rain warrant a professional assessment, because they may indicate structural movement rather than simple settling.
4. Install or Test a Sump Pump
If your basement or lower level has a sump pit, the pump sitting in it is your last line of defense. Test it now, before the season, by slowly pouring a five-gallon bucket of water into the pit. The float should trigger the pump within seconds, and the water should clear completely. If the pump runs but the water level doesn’t drop, the discharge line may be clogged or the pump impeller is failing — either way, replace it. If you don’t have a sump pump and your area has a history of high water tables or flooding, installing one is one of the highest-return investments you can make in a lower-level space.
Also consider a battery backup unit. During the storms that cause flooding, power outages are common — and a sump pump that loses power at the worst moment is useless.
5. Check Your Window Wells
Below-grade windows need window wells to keep soil away from the glass, but those wells can fill with water if they’re not draining properly. Look inside each well after rain: if water is pooling more than an inch or two, the gravel at the bottom has either compacted or the drain is blocked. Dig out the old gravel, clear the drain opening, and replace with fresh pea gravel. A clear polycarbonate well cover keeps leaves and debris out between storms without blocking light.
6. Maintain Your Interior Drainage System
Some homes — particularly those built on Oahu in the mid-20th century — have interior French drains or channel drains along the perimeter of the basement floor that route water to the sump pit. These can clog with sediment over years of use. If you have this system, flush it annually with a garden hose and check that water flows freely toward the pit. A drain that’s partially blocked won’t fail dramatically; it’ll just let water back up slowly during a heavy event, which is easy to miss until there’s already an inch of water on the floor.
7. Locate and Know Your Main Water Shutoff
Not all basement flooding comes from outside. A burst pipe, a failed water heater, or a washing machine hose that lets go can put hundreds of gallons of water on the floor in an hour. Know exactly where your main shutoff valve is — in most Honolulu homes it’s near the meter at the street or at the point where the main line enters the structure — and make sure it actually turns. Valves that haven’t been operated in years can seize. Turn it a quarter-turn closed and back open once a year to keep it functional. If it won’t budge, call a plumber before you need it in an emergency.
8. Waterproof Vulnerable Penetrations
Every pipe, conduit, or utility line that passes through a foundation wall is a potential water entry point. Inspect each one from the inside and look for gaps between the pipe and the surrounding concrete. Fill small gaps with hydraulic cement; for larger or irregular openings, a two-part polyurethane foam sealant gives you a flexible, waterproof bond that won’t crack when the structure moves slightly. Pay particular attention to the area where the main sewer line exits — this is often overlooked and can allow both groundwater intrusion and, in severe cases, sewage backflow during heavy rain events.
What to Do If Water Gets In Anyway
Even with every precaution in place, an unusually heavy rain or a sudden plumbing failure can still result in water on the floor. If that happens:
- Identify and stop the source first — if it’s a pipe, shut off the main; if it’s groundwater intrusion, you can’t stop the rain, but you can start removing water immediately.
- Document everything before you touch it — photograph and video the water level, the affected contents, and any visible entry points. This documentation matters for your insurance claim.
- Extract standing water as fast as possible — every hour of contact increases the likelihood of flooring, drywall, and framing absorbing moisture. Wet/dry shop vacs work for small amounts; for anything over a half-inch, you need a submersible pump.
- Get air moving — fans and open windows (if it’s not still raining) begin the evaporation process. Dehumidifiers pull moisture from the air. In Honolulu’s humidity, ambient air alone will not dry a wet space.
- Check for mold risk — mold can begin colonizing wet organic materials within 24 to 48 hours in warm, humid conditions. If materials aren’t dry within that window, the calculus shifts from drying to remediation.
If the water volume is significant, the source is unclear, or materials like drywall and subfloor have been saturated, the situation has moved beyond DIY territory. A water damage restoration team has moisture meters, thermal imaging cameras, and commercial drying equipment that can confirm whether a space is genuinely dry — not just dry on the surface.
Prevention is always cheaper than restoration. But if flooding has already happened and you’re not confident the space is fully dry, contact AAA Water Damage Restoration & Carpet Care at (808) 349-3407. A proper moisture assessment now is far less disruptive than discovering mold behind a wall three weeks from now.