
Testing for mold in your home comes down to one key question: do you need to know if mold is present, or do you need to know what kind, how much, and where it’s spreading? A $10 petri-dish kit from the hardware store can answer the first question — badly. A professional inspection with air sampling and moisture mapping can answer all of them. Here’s what each approach actually tells you, where each one falls short, and how to decide which one your situation calls for.
What DIY Mold Test Kits Actually Measure
Most consumer mold test kits are passive spore-trap kits. You open a petri dish coated in a growth medium, leave it on a counter for 24–48 hours, seal it, and mail it to a lab — or just watch to see what grows. Some kits skip the lab entirely and ask you to interpret the color of whatever colonizes the dish yourself.
The core problem: mold spores are everywhere, indoors and out. Honolulu’s warm, humid air means your home already has background spore levels that will cause almost any petri dish to show growth if you leave it out long enough. A positive result tells you mold spores exist in your air — which is true of virtually every home on the island. It does not tell you:
- Whether levels are elevated above what’s normal for your climate
- Which species are present (some are benign; others like Stachybotrys chartarum — often called black mold — warrant a very different response)
- Where the source colony is growing
- Whether hidden moisture is still feeding active growth
Swab kits are slightly more useful if you already see a visible stain and want a rough species ID. You swab the growth, send it to the lab, and get a genus-level identification back. That’s a narrower question with a more reliable answer — but it still tells you nothing about air quality or hidden colonies behind drywall or under flooring.
Bottom line on DIY kits: they’re best understood as a first-pass curiosity tool, not a diagnostic one. A positive result shouldn’t panic you; a negative result shouldn’t reassure you.
What a Professional Mold Inspection Includes
A qualified mold inspector approaches your home as a system, not a single surface. A thorough inspection typically involves:
- Visual survey — checking bathrooms, crawl spaces, attic decking, around windows, under sinks, and along exterior walls for visible growth, staining, or efflorescence.
- Moisture mapping — using a non-invasive pin or pinless moisture meter to probe walls, ceilings, and subfloors for elevated readings. In Hawaii, anything above roughly 16–19% wood moisture content or 80% relative humidity in a wall cavity is a flag.
- Air sampling — a pump draws a calibrated volume of air through a spore-trap cassette, which goes to an accredited lab. Results are reported in spores per cubic meter and compared against an outdoor control sample taken the same day. This is how you establish whether indoor levels are abnormal relative to the outdoor baseline.
- Surface or bulk sampling — if a suspect area is found, tape lifts or physical samples confirm species and concentration.
- Written report — a professional inspection produces documentation you can give to a contractor, a landlord, or your insurance company.
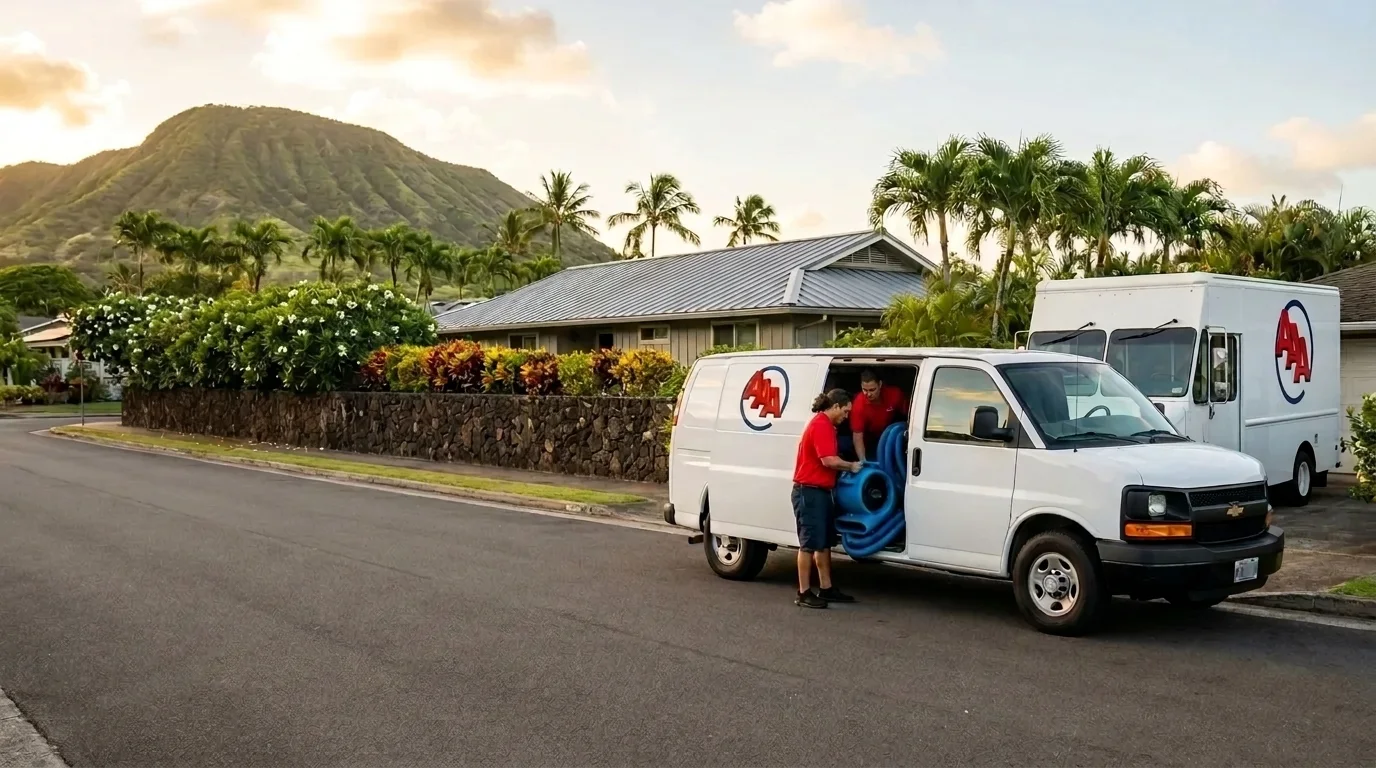
The distinction between a mold inspector and a mold remediator matters here. Ideally, the company that tests your home should not be the same company that remediates it — that’s a conflict of interest. AAA Water Damage Restoration & Carpet Care offers mold inspection and testing as a service, and can help you understand what the results mean before any remediation decisions are made.
Situations That Warrant a Professional Inspection Right Away
Not every musty smell needs a full inspection. But some situations do, and waiting makes them worse. Mold can begin colonizing wet building materials within 24–48 hours of a moisture event — and in Honolulu’s climate, that window is on the shorter end.
Call a professional inspector if any of the following apply:
- You’ve had a leak, flood, or plumbing failure that wasn’t dried out within 48–72 hours. Even if surfaces look dry now, moisture trapped inside wall cavities or under flooring can sustain hidden growth for months.
- You smell mold but can’t see it. A musty, earthy odor — especially in a closet, under a sink, or along a wall — often means the colony is behind a surface, not on it.
- Someone in the home has unexplained respiratory symptoms, chronic congestion, or worsening asthma. This is a situation where you want documented air quality data, not a petri dish result.
- You’re buying or selling a home and want an independent assessment before closing.
- A DIY kit came back positive and you want to know what you’re actually dealing with.
- Visible growth covers more than about 10 square feet. At that scale, the EPA recommends professional remediation — and you’ll want a pre-remediation inspection to document conditions.
What Not to Do While You’re Deciding
A few common mistakes can make a mold problem significantly harder to assess or remediate:
- Don’t paint or caulk over visible growth. It doesn’t kill the colony; it just hides it from the next inspector.
- Don’t run fans directly on a moldy area. Fans aerosolize spores and spread them to unaffected rooms.
- Don’t tear out drywall yourself to “check” what’s behind it without containment in place. Disturbing a colony without containment and negative air pressure can contaminate the rest of the house.
- Don’t rely on bleach as a complete solution. Bleach can kill surface mold on non-porous materials like tile, but it doesn’t penetrate porous materials like drywall or wood framing, and it doesn’t address the moisture source that’s feeding the growth.
- Don’t ignore the moisture source. Removing visible mold without fixing the underlying leak or humidity problem means it comes back — usually within weeks.
The Longer Path: From Testing to Clearance
If a professional inspection confirms elevated mold levels, the remediation process follows a defined sequence:
- Identify and fix the moisture source — no remediation is durable without this step.
- Establish containment — plastic sheeting and negative air pressure machines prevent cross-contamination during removal.
- Remove affected materials — porous materials like drywall, insulation, and carpet that are heavily colonized typically need to come out rather than be treated in place.
- HEPA vacuuming and antimicrobial treatment — surfaces are cleaned and treated before reconstruction begins.
- Post-remediation verification (clearance testing) — a final round of air sampling, often conducted by a third-party inspector, confirms that spore levels have returned to normal before the space is closed up again.
AAA Water Damage Restoration & Carpet Care handles mold remediation through this full sequence — from initial assessment through final clearance — so nothing gets skipped in the interest of speed.
Making the Call
If you’re genuinely unsure whether you have a mold problem, a professional inspection is almost always the better investment over a DIY kit. The data is more reliable, the report is usable documentation, and you’ll know exactly what you’re dealing with before spending money on remediation that may or may not be necessary. If you’ve already had a water event, don’t wait on the smell — moisture damage moves faster in Hawaii’s climate than most homeowners expect. Reach out to AAA Water Damage Restoration & Carpet Care at (808) 349-3407 to schedule an inspection and get answers you can actually act on.